14-Feb-2025 by
Plantable Seed PaperHow to Make Your Seed Paper at Home: A Step-by-Step Guide
In an era where sustainability is becoming more of a priority for individuals and businesses alike, one of the simplest yet most creative ways to contribute to a greener world is by making your own seed paper. Seed paper is an innovative eco-friendly product that combines the beauty of paper with the magic of plants. It's a paper that contains seeds within its fibers, making it not only a beautiful piece of art but also a tool to grow plants after it's used. In this guide, we will walk you through the surprisingly simple process of making your own plantable seed paper at home, from start to finish.
What is Seed Paper?
Seed paper, also known as plantable seed paper or paper seed, is an eco-friendly type of paper embedded with seeds. After the paper is no longer needed, it can be planted in the soil, where the embedded seeds will grow into flowers, herbs, or vegetables. It's a sustainable way to reuse paper and promote plant growth at the same time. The seeds typically used in seed paper are small and hardy, such as wildflowers, herbs like basil or parsley, or vegetables like tomatoes and peppers.
The beauty of seed paper lies not only in its sustainability but also in its versatility. It can be used for various purposes such as greeting cards, invitations, business cards, or even gift tags. Whether you're an eco-conscious crafter, a gardener, or someone looking for a creative way to go green, making your own seed paper is a fun, rewarding project that allows you to add a unique, personal touch to your creations.
Why Should You Make Seed Paper?
Before diving into the "how-to," it’s worth considering why you should make your own seed paper at home. Here are just a few reasons:
- Eco-Friendly: Seed paper is biodegradable and can be planted after use, unlike regular paper that ends up in a landfill. It's a fantastic way to reduce your carbon footprint and promote sustainability.
- Creative and Personal: You can customize seed paper to match your personal style or the theme of an event. Whether it’s for wedding invitations, thank you cards, or DIY projects, seed paper adds a unique, personal touch.
- A Gift That Keeps Giving: When you give seed paper as a gift or use it for invitations, you're not just giving something beautiful. You're giving the gift of nature. The recipient can plant the paper and watch it grow into something meaningful.
- Perfect for Gardeners: If you're an avid gardener, making seed paper with your favorite plants’ seeds can be an exciting way to cultivate a garden. You can use your own homegrown seeds or purchase eco-friendly ones.
Materials Needed for Making Seed Paper
To make seed paper at home, you don’t need much. Here’s a list of materials you’ll need for this simple craft project:
- Recycled Paper: The base of your seed paper can be any type of paper, but using recycled paper is ideal. Old newspaper, scrap paper, or even leftover printer paper works well.
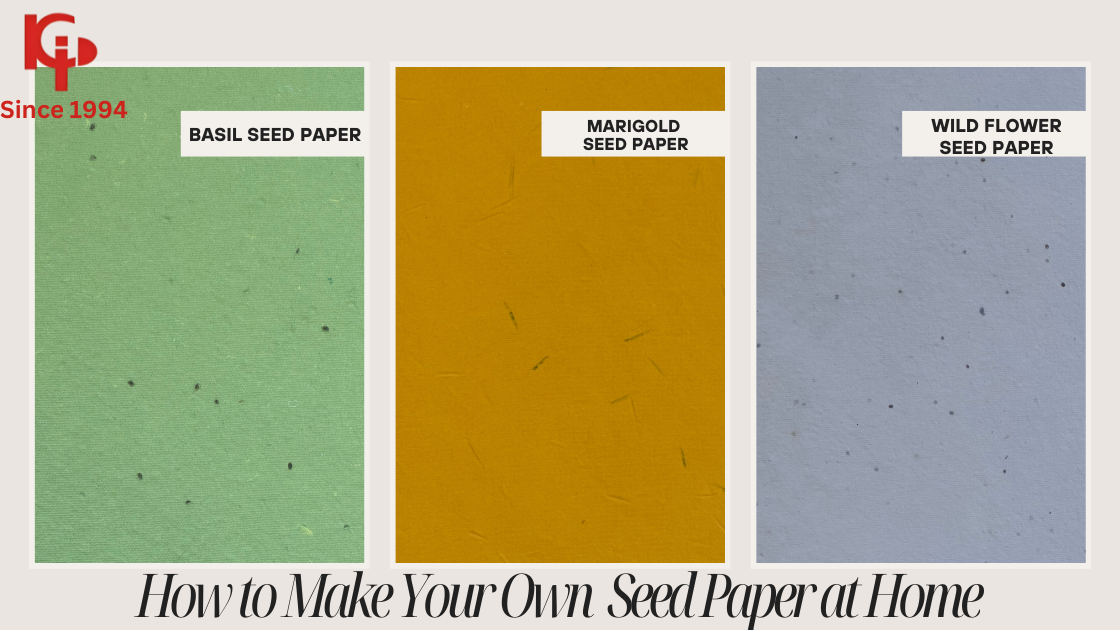
- Seeds: Choose the seeds you want to embed in your paper. Herbs like basil, lavender, or mint are great options, but you can also use wildflower or vegetable seeds. Make sure the seeds you choose are small enough to be embedded in the paper without affecting its texture too much.
- Water: This helps to pulp the paper and make it moldable.
- Blender or Food Processor: This is used to break down the paper into pulp. A blender is the easiest option, but a food processor works too.
- A Frame or Screen: This will be used to form the paper. You can make a simple frame with a screen or mesh material.
- A Bowl: For soaking the paper scraps.
- A Towel or Felt Cloth: To help absorb excess water from the paper.
- A Rolling Pin (Optional): This helps to smooth out the paper and make it more uniform.
- Food Coloring (Optional): If you want to add color to your paper, you can use natural food coloring or dye.
Step-by-Step Instructions: How to Make Seed Paper
Step 1: Tear the Paper into Small Pieces
Start by tearing your recycled paper into small pieces. You don’t need to worry about making the pieces perfect—just tear them into manageable chunks. Aim for about a handful of paper scraps for every sheet of seed paper you want to make. This is your base, so try to include a variety of paper types for added texture and visual interest.
Step 2: Soak the Paper
Next, place the torn paper pieces into a large bowl and cover them with warm water. Let the paper soak for about 30 minutes to an hour. This softens the fibers and makes it easier to blend them into a pulp. If you’re in a hurry, you can leave the paper to soak overnight for a better result.
Step 3: Blend the Paper into Pulp
Once the paper has soaked sufficiently, place it into a blender with enough water to create a slurry-like mixture. You’ll want the consistency of the mixture to resemble thick soup or porridge. Blend until the paper is completely broken down into pulp.
For an extra creative touch, you can add food coloring at this stage if you want colored paper. Just a few drops of dye will work—keep in mind that you’ll need to use biodegradable dye if you're aiming for an eco-friendly end result.
Step 4: Add the Seeds
Now it’s time to add the seeds into the pulp. Depending on the type of seeds you’re using, a tablespoon or two of seeds will suffice for every batch of pulp you create. Stir the seeds into the pulp mixture gently, making sure they are evenly distributed.
It’s important to note that seeds in paper should be small and easy to embed. If you’re using larger seeds, such as sunflower seeds, they may not embed as well and can affect the texture of the final product. Also, avoid using any seeds that are non-native or invasive to your region.
Step 5: Prepare Your Frame or Screen
Now, set up your paper-making workspace. Place your screen or frame in a shallow pan or basin to catch any excess water. You can make a DIY frame using two pieces of wood and mesh or use a pre-made screen. The frame should be about the size of the seed paper sheets you want to create.
Step 6: Form the Paper Sheets
Take the pulp mixture and pour it into the frame or screen. Tilt the frame slightly to spread the pulp evenly across the surface, and then gently shake it back and forth to level the mixture. The thickness of your paper depends on how much pulp you pour into the frame. For thinner sheets, use less pulp, and for thicker sheets, use more.
Once the pulp is evenly distributed, use your hands or a flat tool like a rolling pin to press out excess water. Be gentle to avoid disturbing the seeds too much.
Step 7: Press and Dry the Paper
Now, gently lift the frame and place it on a flat surface like a towel or felt cloth to absorb any remaining water. Use a rolling pin or a similar object to press the paper flat and smooth. Leave the paper to dry for at least 24 to 48 hours, depending on the humidity and thickness of the paper.
You can also speed up the drying process by placing the paper in the sun or using a fan. Be careful not to leave it out in direct sunlight for too long, as the paper could become brittle and crack.
Step 8: Peel and Trim the Paper
Once your seed paper has dried completely, it’s time to peel it off the frame. Gently lift the edges of the paper and carefully peel it away. If the paper sticks to the frame, a little bit of warm water can help loosen it.
Use scissors to trim the paper into your desired shape or size. You can create individual sheets, cards, or even cut it into fun shapes like hearts or circles.
Step 9: Plant and Watch It Grow!
Your seed paper is now ready to use. Whether you’re gifting it to someone or using it in your own garden, the process of planting is simple. Simply bury the seed paper under a thin layer of soil, water it regularly, and watch as it grows into beautiful flowers, herbs, or vegetables.
The beauty of plantable seed paper is that it’s not just a decorative item—it’s a piece of nature that you can watch bloom over time.
Conclusion
Making your own seed paper at home is a rewarding and environmentally friendly craft. With just a few basic materials, you can create beautiful, functional plantable seed paper that not only looks great but also helps the planet by promoting sustainability and plant growth. Whether you're using it for gift tags, cards, or invitations, plantable seed paper offers a unique way to bring a little more greenery into the world.